

Home Renovation Storage Near Caddo Mills: Where to Put Everything During a Remodel
Home Renovation Storage Near Caddo Mills: Where to Put Everything During a Remodel
Habib Ahsan
April 3rd, 2026
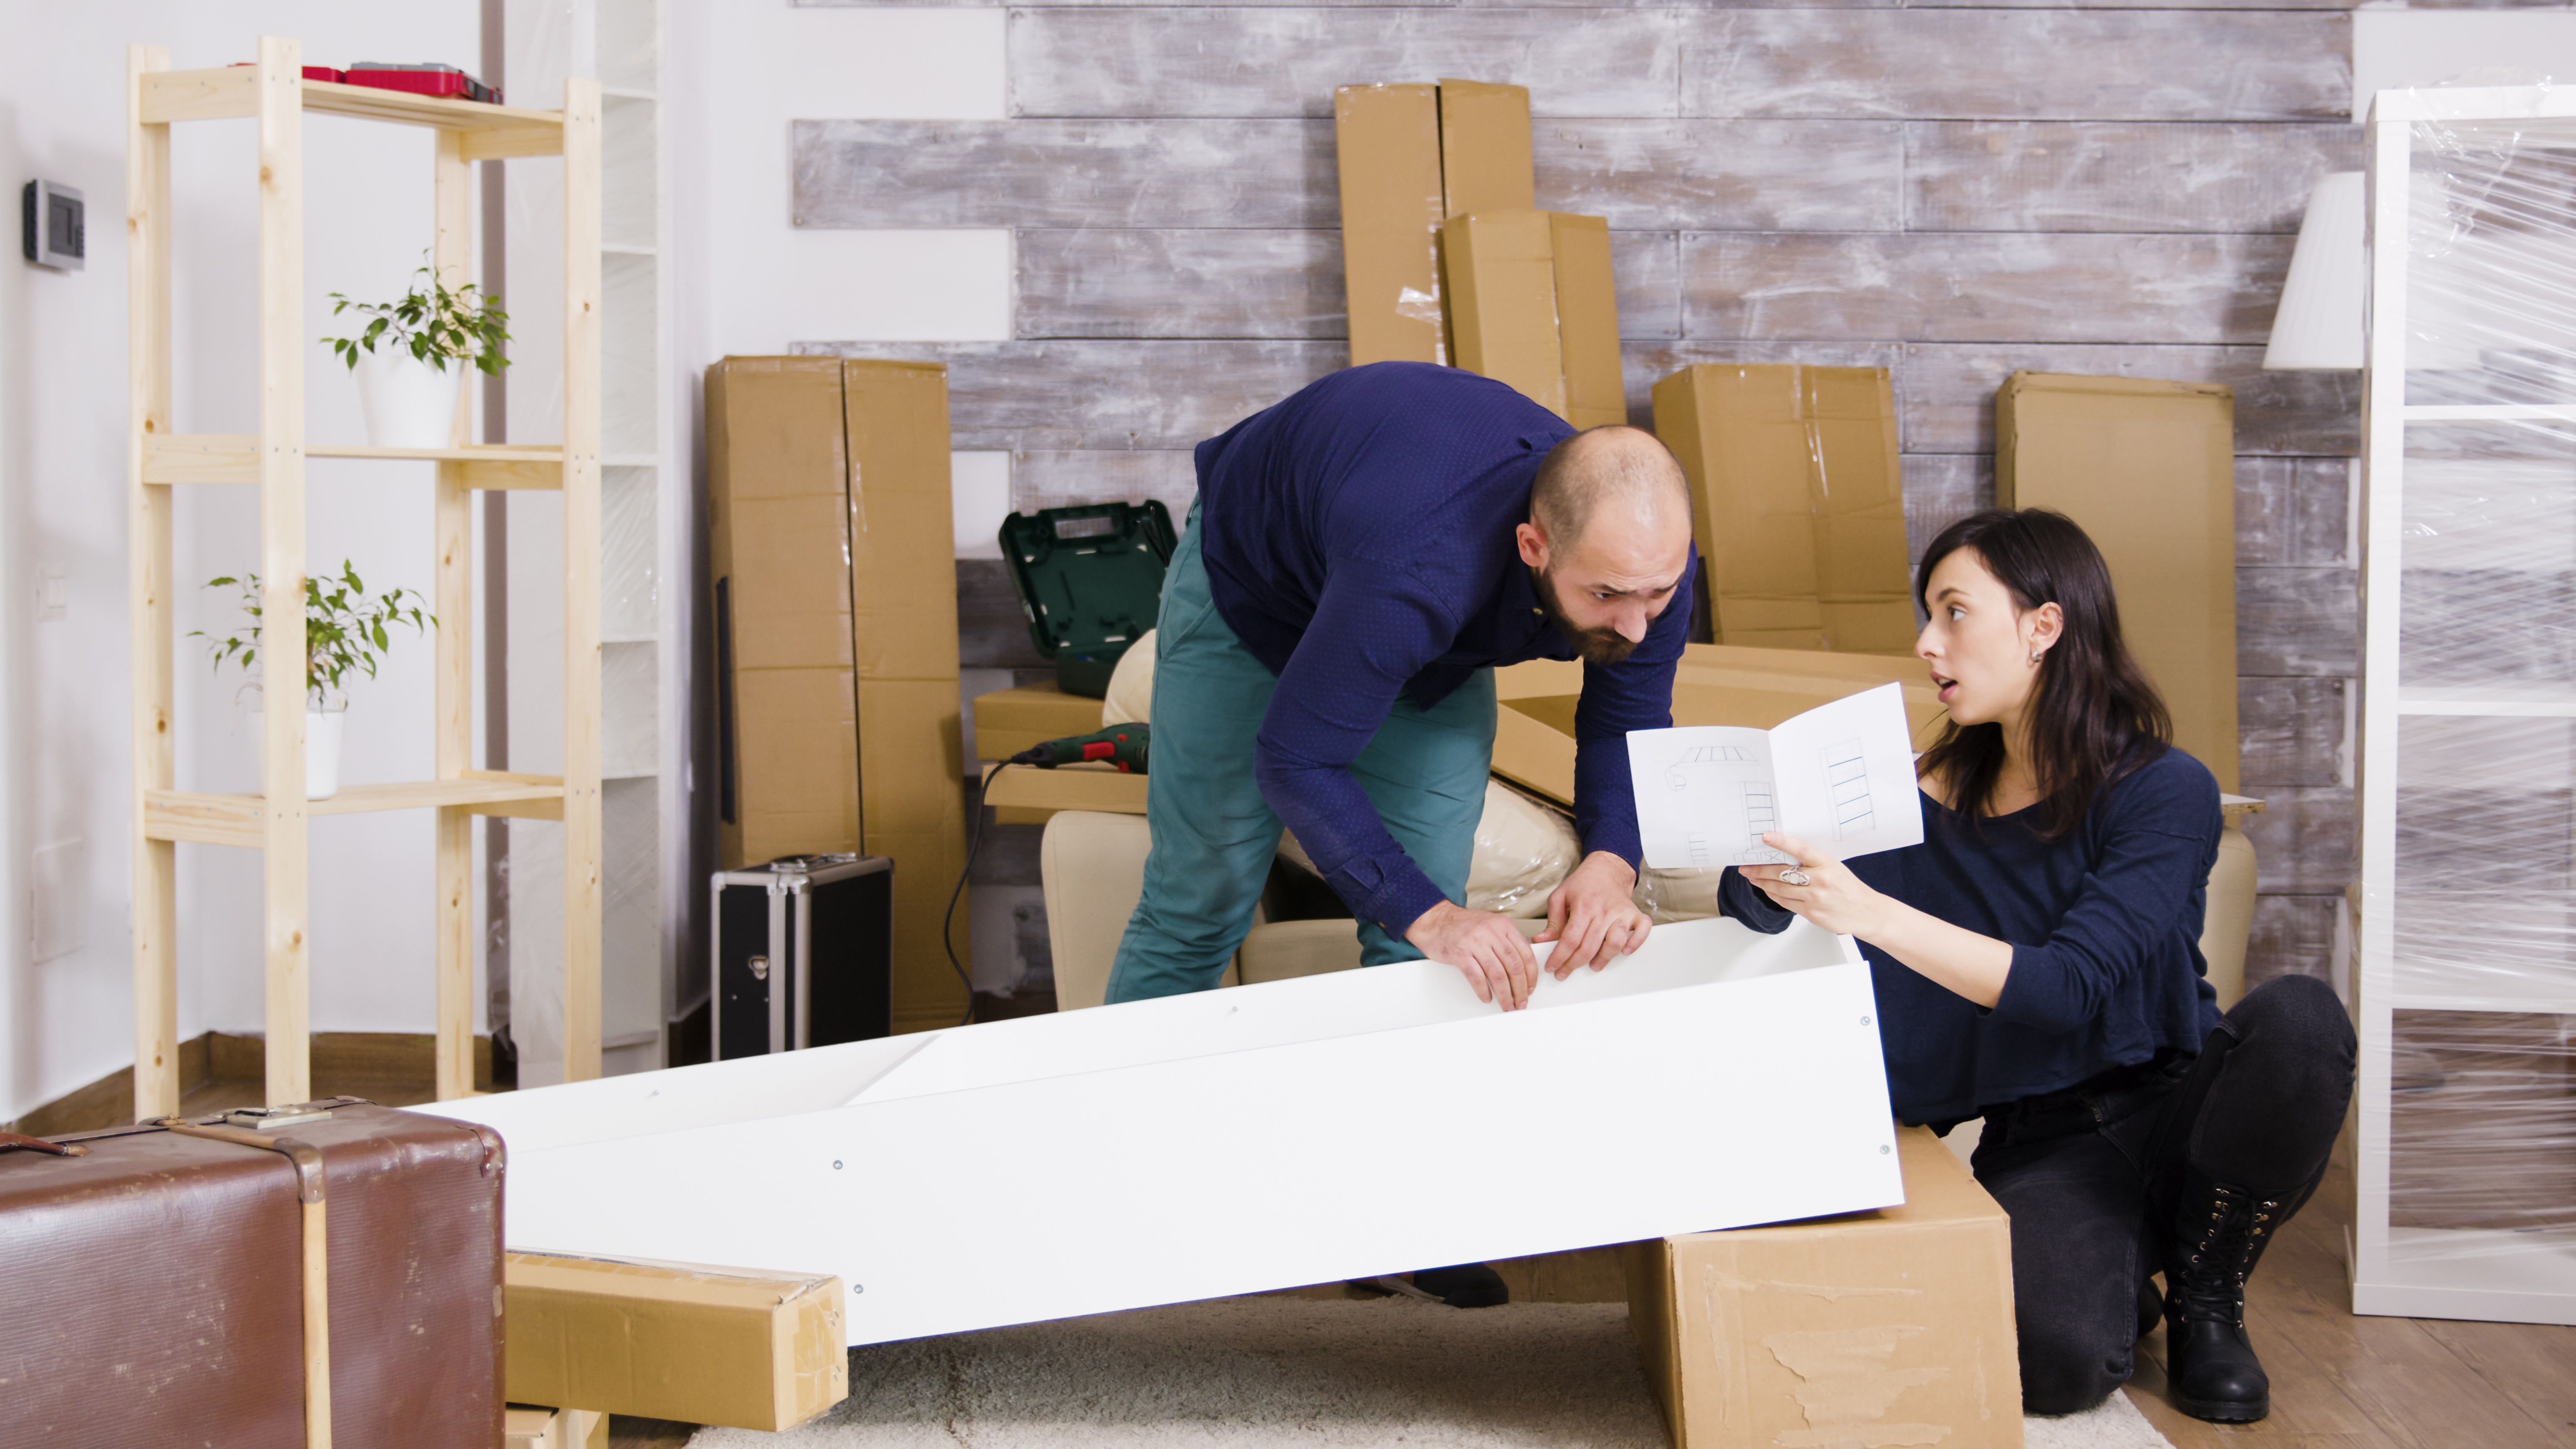
Renovating your home sounds exciting until you realize you have nowhere to put everything. Furniture, appliances, décor, and daily essentials quickly get in the way. Without a plan, they can get damaged, lost, or slow down your project. The good news: with the right storage strategy, you can keep your renovation organized and stress-free. This guide shows exactly where to store your belongings during a remodel in Caddo Mills, and how to do it the right way.
Why Storage Planning Matters During a Remodel
Most homeowners underestimate how much space they’ll need during a renovation. Here’s what typically goes wrong:
- Furniture gets covered in dust, paint, or debris
- Items are constantly moved around, causing damage
- Contractors lose workspace, slowing progress
- You can’t find essential items when you need them
In Texas, heat and humidity make things worse. Wood can warp, fabric can trap moisture, and electronics can be affected. A proper storage plan prevents these issues before they start.
Step 1: Know What You Need to Store
Start with a quick, practical inventory.
Break items into categories:
- Large furniture: Sofas, beds, dining tables, cabinets
- Appliances: Refrigerators, washers, microwaves (if not in use)
- Fragile items: Glassware, décor, artwork, TVs
- Daily essentials: Clothes, documents, basic kitchen items
Ask yourself:
- What do I need access to weekly?
- What can stay packed for a month or more?
This step helps you avoid renting the wrong storage size or type.
Step 2: Choose the Right Storage Option
Not all storage is the same. The right choice depends on what you're storing and how often you need access.
Climate-Controlled Storage (Best for Most Homes)
Ideal for protecting:
- Wooden furniture (prevents cracking or warping)
- Electronics (TVs, computers)
- Mattresses and fabric items
- Important documents
In Caddo Mills, this is especially important due to heat and humidity.
If it would be damaged in a hot garage, it should go in climate-controlled storage.
Drive-Up Storage Units (Best for Convenience)
Perfect for:
- Heavy furniture
- Tools and renovation materials
- Items you’ll move frequently
Benefits:
- Park right in front of your unit
- Load/unload quickly
- Less lifting and carrying
This is a practical choice during active construction phases.
On-Site Storage (Portable Containers)
Works if:
- You have driveway or yard space
But consider:
- Exposure to weather
- Security concerns
- Limited temperature control
For most homeowners, off-site storage is more reliable.
Step 3: Pick the Right Size (Avoid Overpaying)
Choosing the right size saves money and hassle.
General guidelines:
- 5x10 unit1–2 rooms (boxes + small furniture)
- 10x10 unitSmall apartment or 2–3 rooms
- 10x20 unitFull home storage
Pro tip:
- Disassemble furniture to reduce space
- Stack vertically to maximize the unit
If unsure, go slightly bigger—but not excessively.
Step 4: Pack Like a Pro (This Makes a Huge Difference)
Good packing protects your belongings and makes your life easier later.
Protect everything from dust
- Wrap furniture in plastic or moving blankets
- Use sealed boxes for all small items
- Cover mattresses completely
Label clearly
- Use room-based labels:“Kitchen – Daily Use” “Bedroom – Storage”
- Add notes like:“Open first” “Fragile”
Organize your unit smartly
- Keep frequently used items near the front
- Leave a small walkway inside
- Place heavy boxes at the bottom
This saves hours when you need to find something quickly.
Step 5: Plan for Access During Renovation
Think ahead because you will need something unexpectedly.
Keep these accessible:
- Daily clothes
- Important documents
- Basic kitchen supplies
- Tools or hardware needed mid-project
Best setup:
- Store essentials separately (at home or front of unit)
- Use clear bins for high-priority items
This avoids unnecessary trips and frustration.
Step 6: Avoid Common Storage Mistakes
Even experienced homeowners make these mistakes:
- Using non-climate units for sensitive items in Texas heat
- Overpacking boxes (they break or become unsafe to lift)
- Forgetting what’s inside each box
- Blocking access to important items
- Waiting too long to rent (units fill up quickly)
Avoid these, and your renovation stays smooth.
Step 7: Time Your Storage Properly
When to move items out:
- Before demolition starts
- Before dust-heavy work begins
When to move items back:
- After painting is fully dry
- After deep cleaning is complete
Bringing items back too early can undo your progress.
A Smarter Way to Handle Renovation Storage in Caddo Mills
If you’re renovating in Caddo Mills, having a clean, secure, and accessible storage unit nearby makes a big difference. Facilities like Caddo Mills Climate Storage offer:
- Climate-controlled units for sensitive items
- Drive-up access for easy loading
- Flexible short-term rentals during renovations
Having storage close to home saves time and keeps your project moving.
Final Thoughts: Make Your Remodel Easier
Renovations are messy but your storage doesn’t have to be. With the right approach, you can:
- Protect your belongings
- Stay organized
- Reduce stress during the process
The key is simple: plan early, choose the right storage, and stay organized. If you do that, your renovation becomes faster, safer, and far more manageable.
Categories